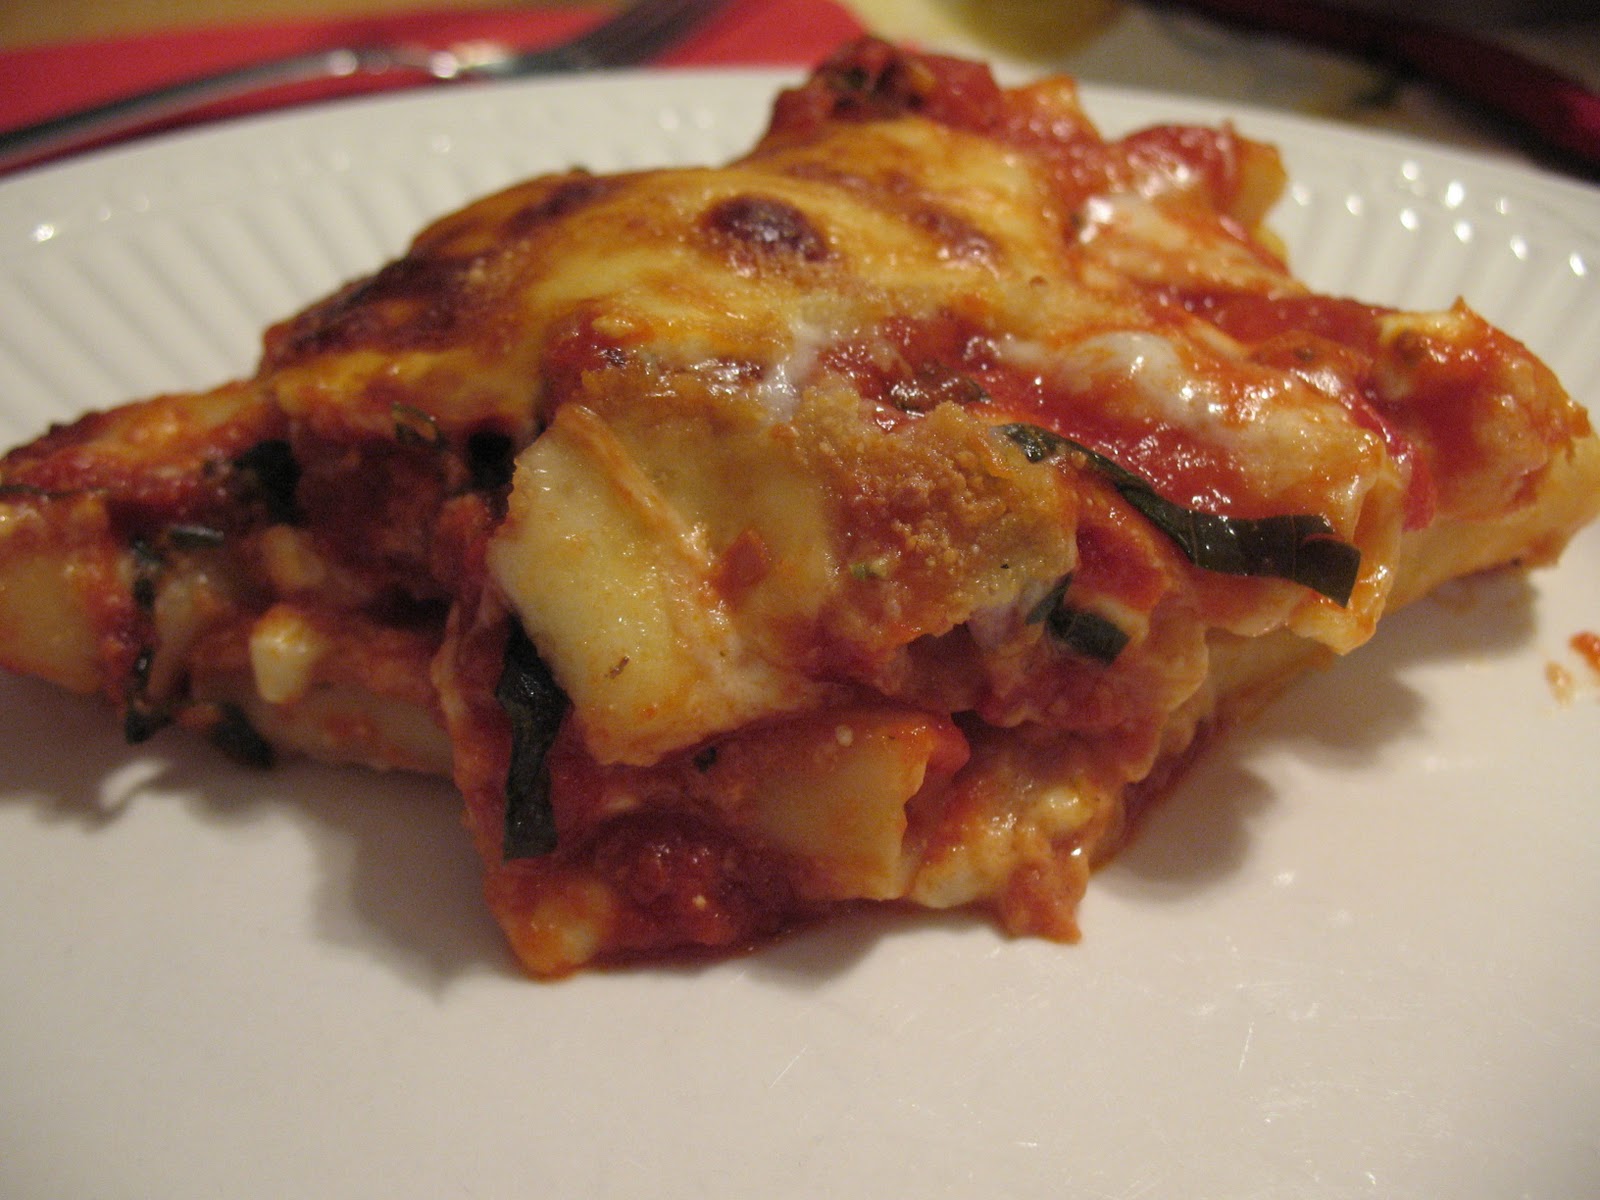
Today is Ash Wednesday, the first day of Lent. Traditionally Catholics abstain from eating meat, so I thought this would be a wonderful day to try Cooks Illustrated Baked Ziti!
Adjust oven rack to middle position and heat oven to 350 degrees. Whisk cottage cheese, eggs, and 1 cup Parmesan together in medium bowl; set aside
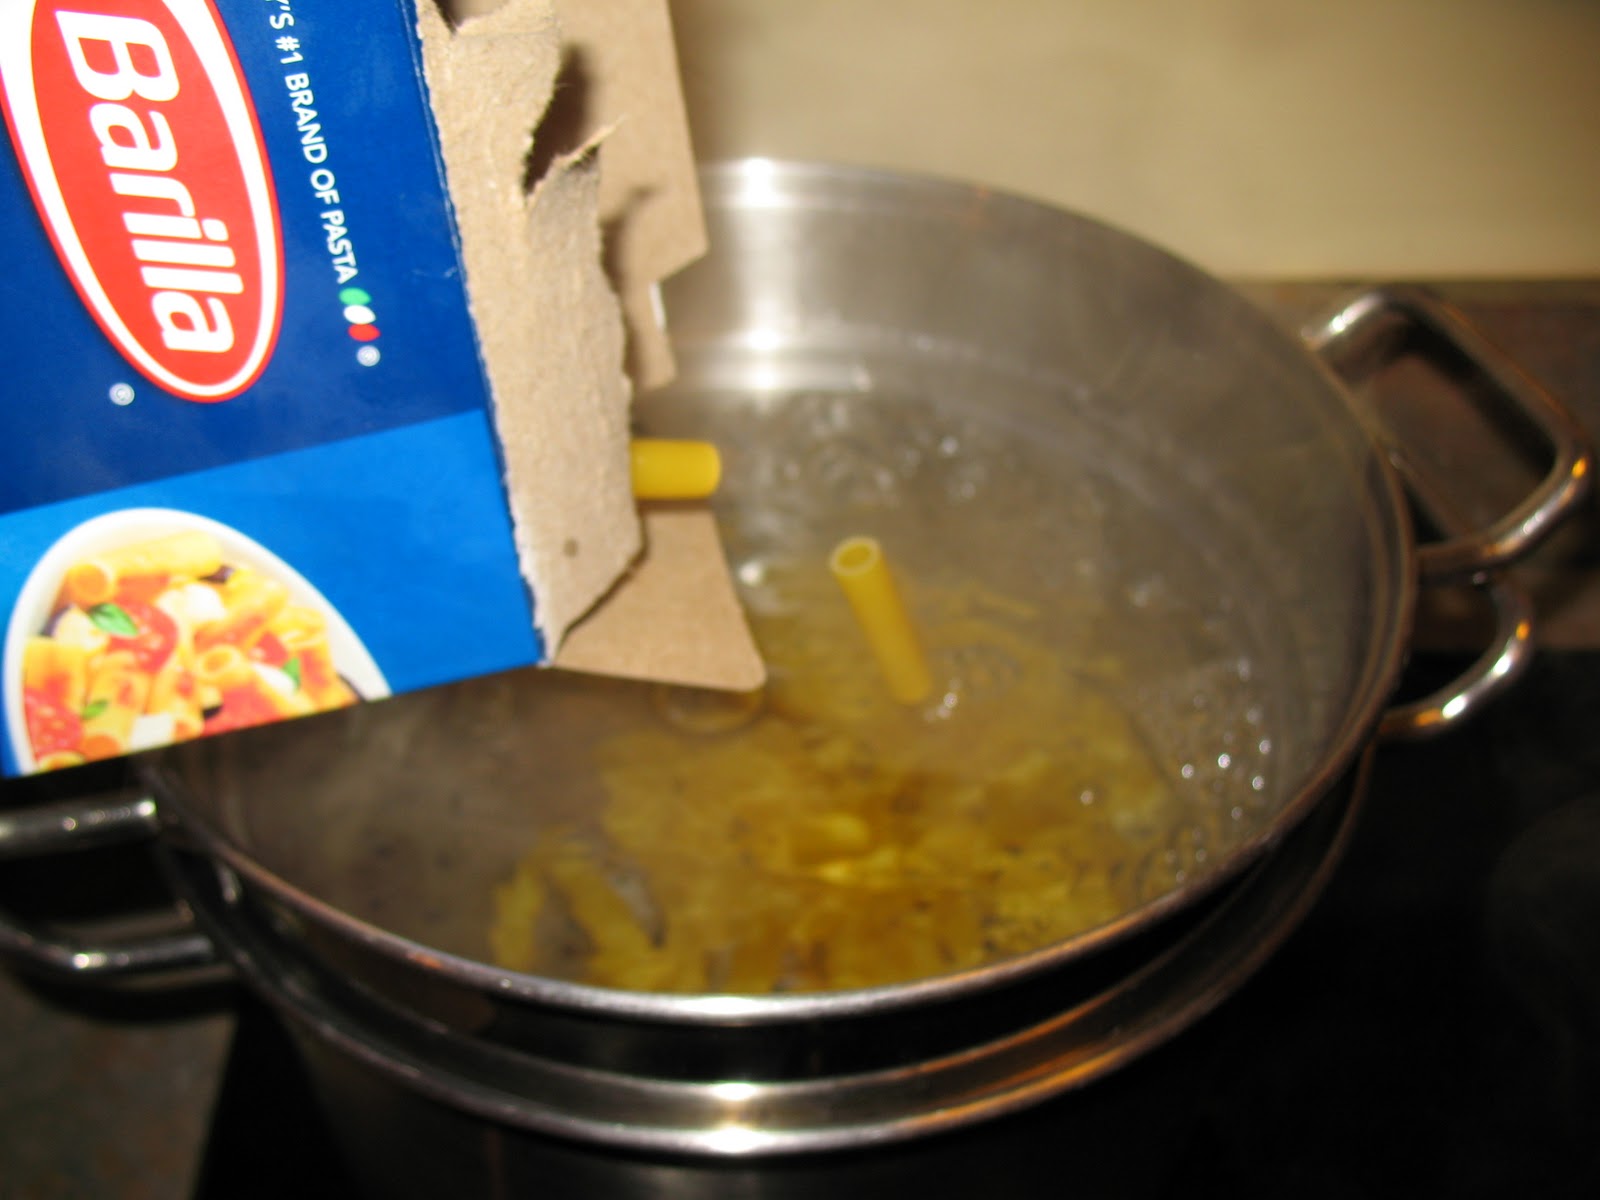
Bring 4 quarts of water to boil in large Dutch oven over high heat. Stir in 1 tablespoon salt and pasta; cook, stirring occasionally, until pasta begins to soften but is not yet cooked through, 5 to 7 minutes. Drain pasta and leave in colander (do not wash Dutch oven).
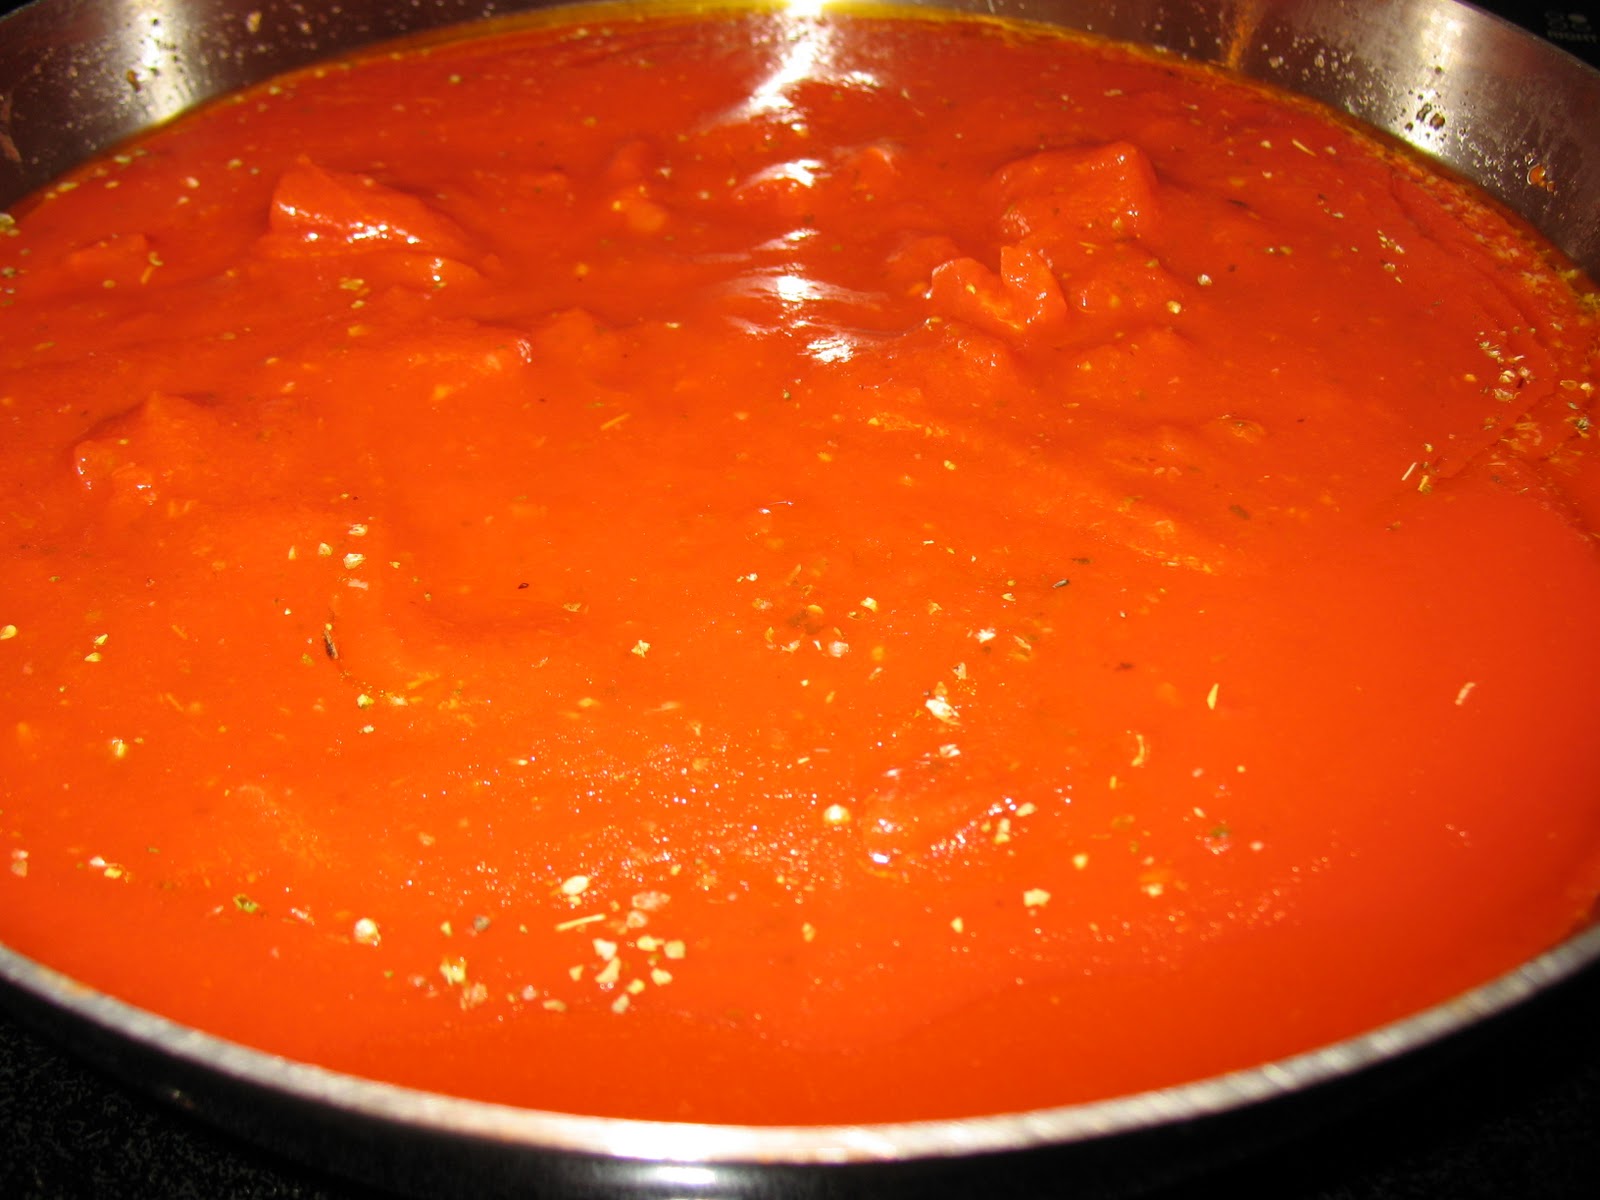
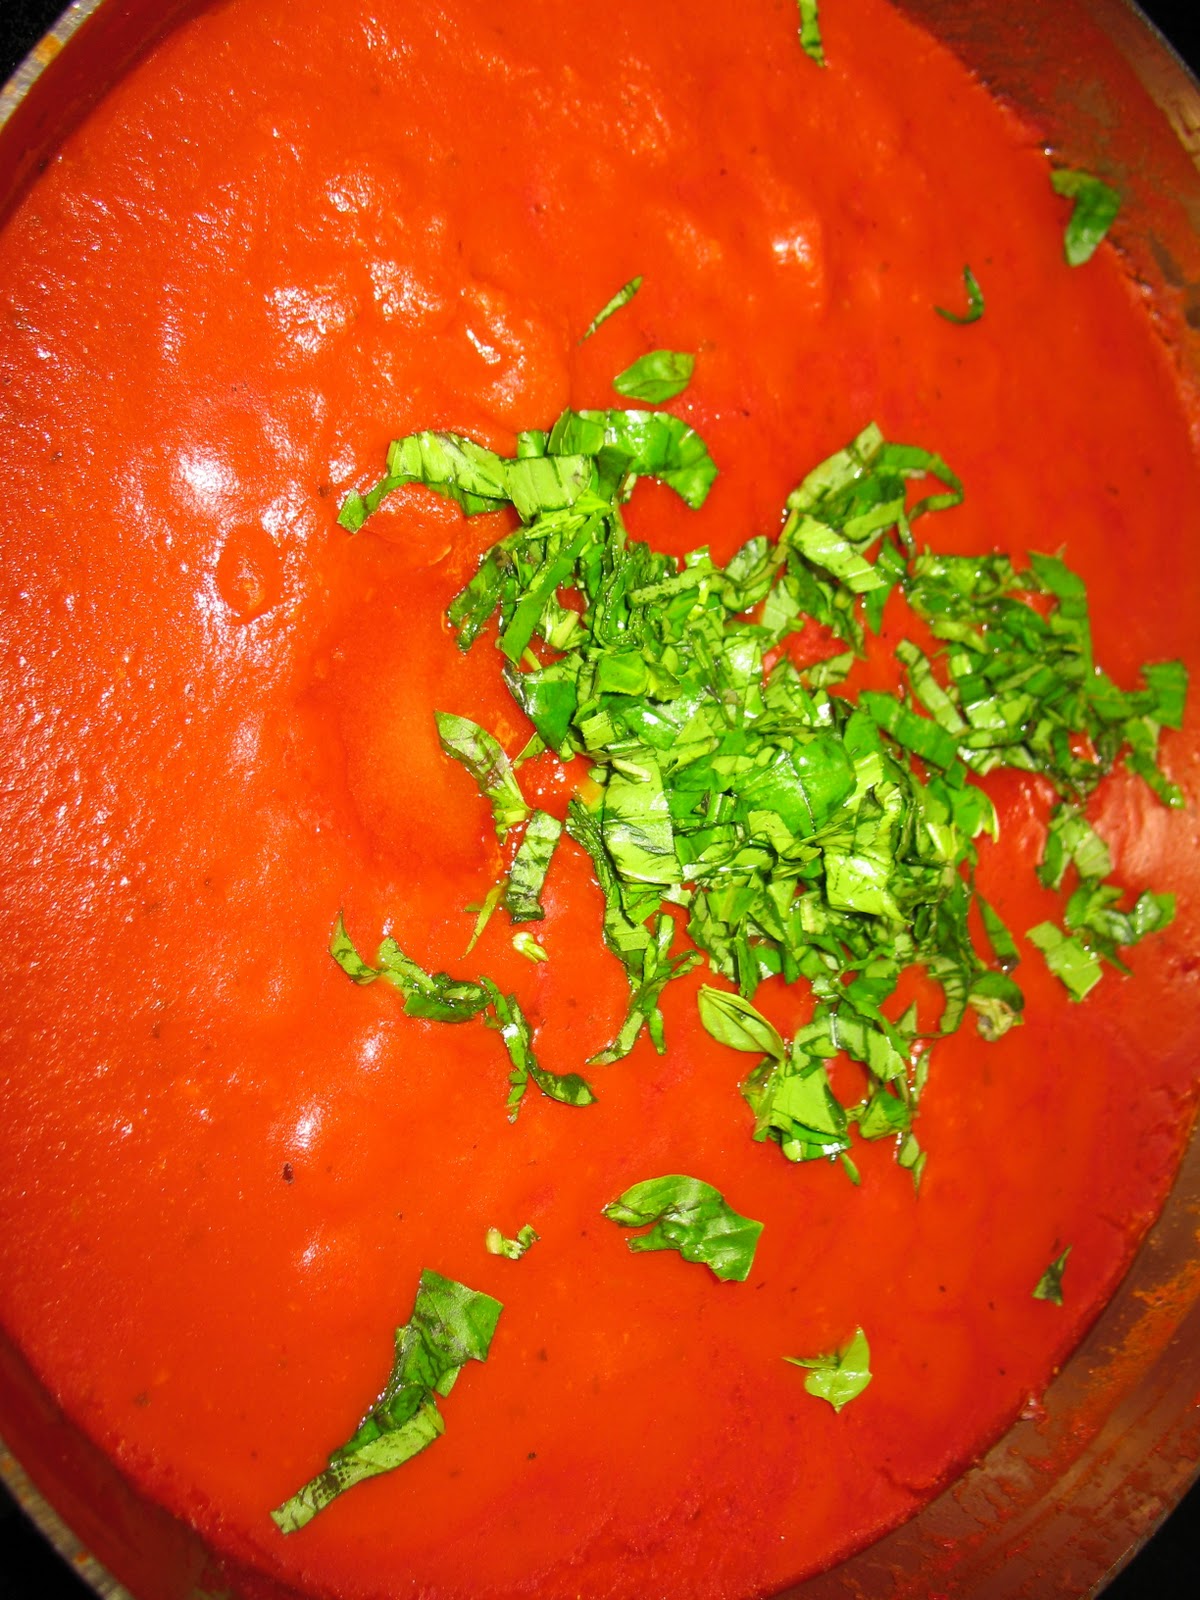
Meanwhile, heat oil and garlic in 12-inch skillet over medium heat until garlic is fragrant but not brown, about 2 minutes. Stir in tomato sauce, diced tomatoes, and oregano; simmer until thickened, about 10 minutes.
Off heat, stir in ½ cup basil and sugar, then season with salt and pepper.
Stir cornstarch into heavy cream in small bowl; transfer mixture to now-empty Dutch oven set over medium heat. Bring to simmer and cook until thickened, 3 to 4 minutes.
Remove pot from heat and add cottage cheese mixture, 1 cup tomato sauce, and ¾ cup mozzarella, then stir to combine.
Add pasta and stir to coat thoroughly with sauce.
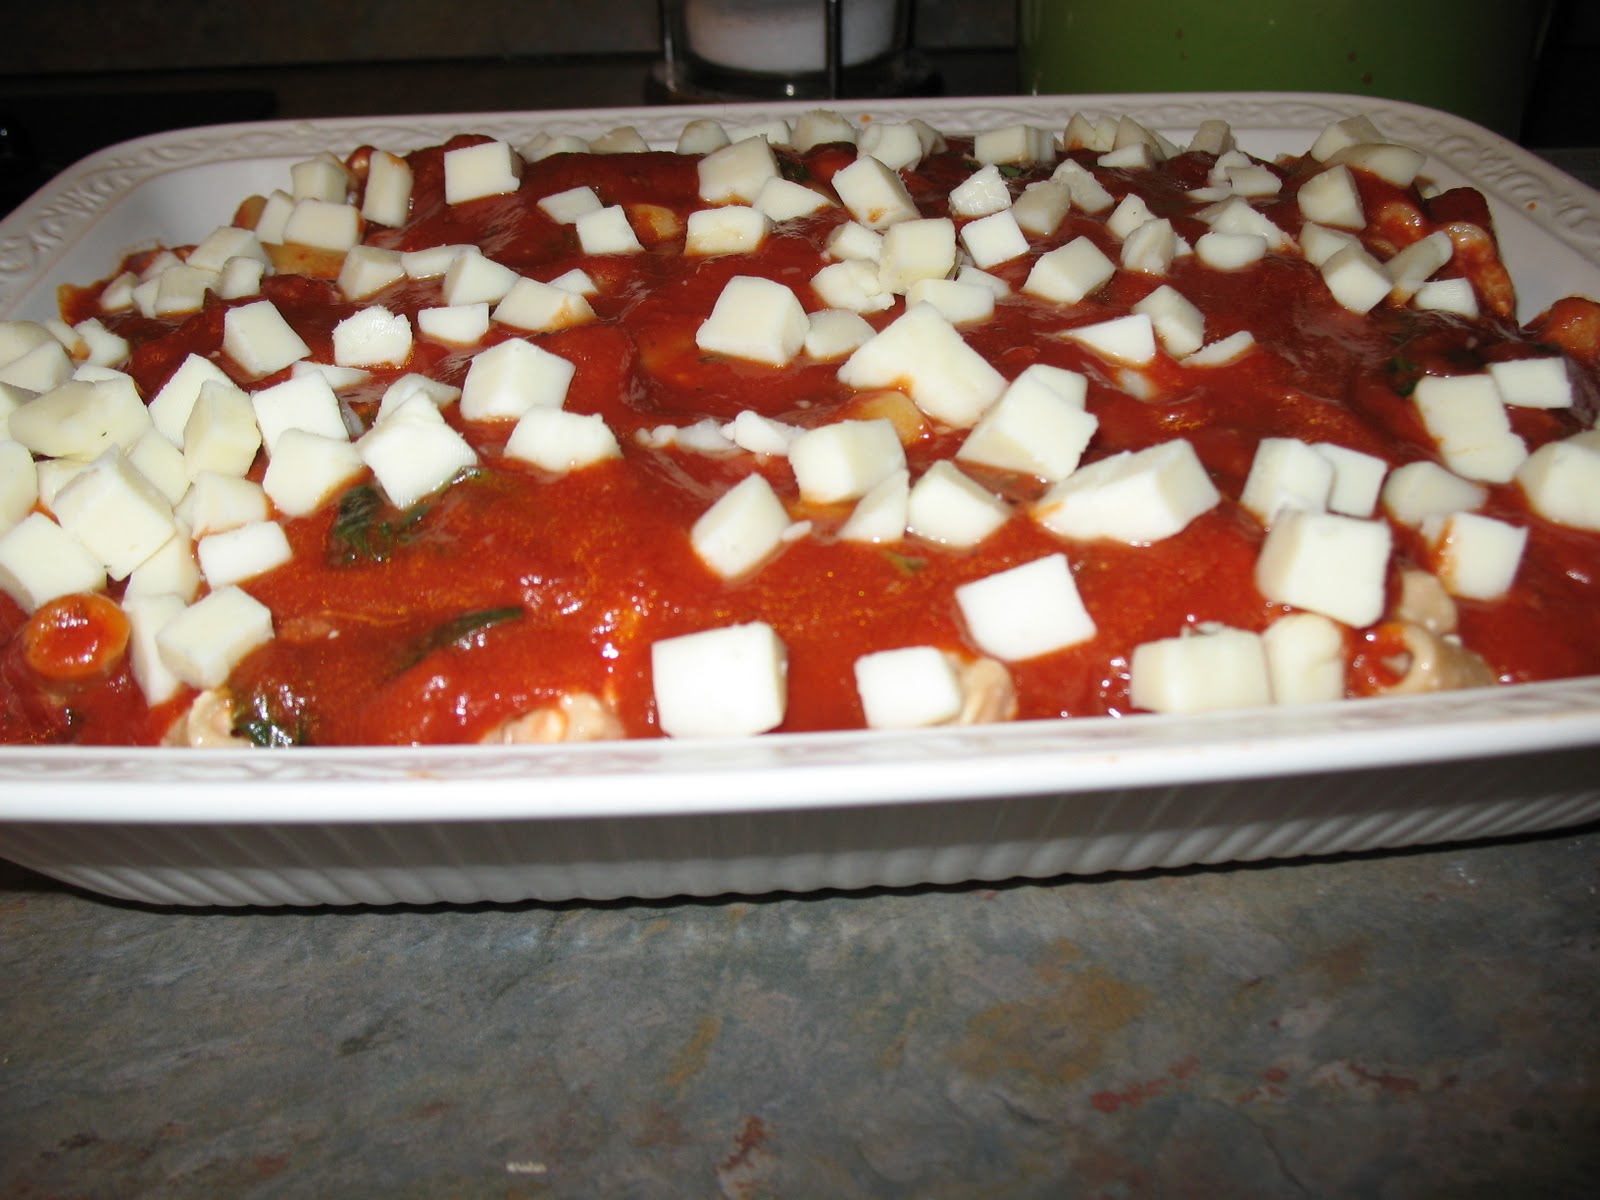
Transfer pasta mixture to 13- by 9-inch baking dish
pread remaining tomato sauce evenly over pasta.
Sprinkle remaining ¾ cup mozzarella
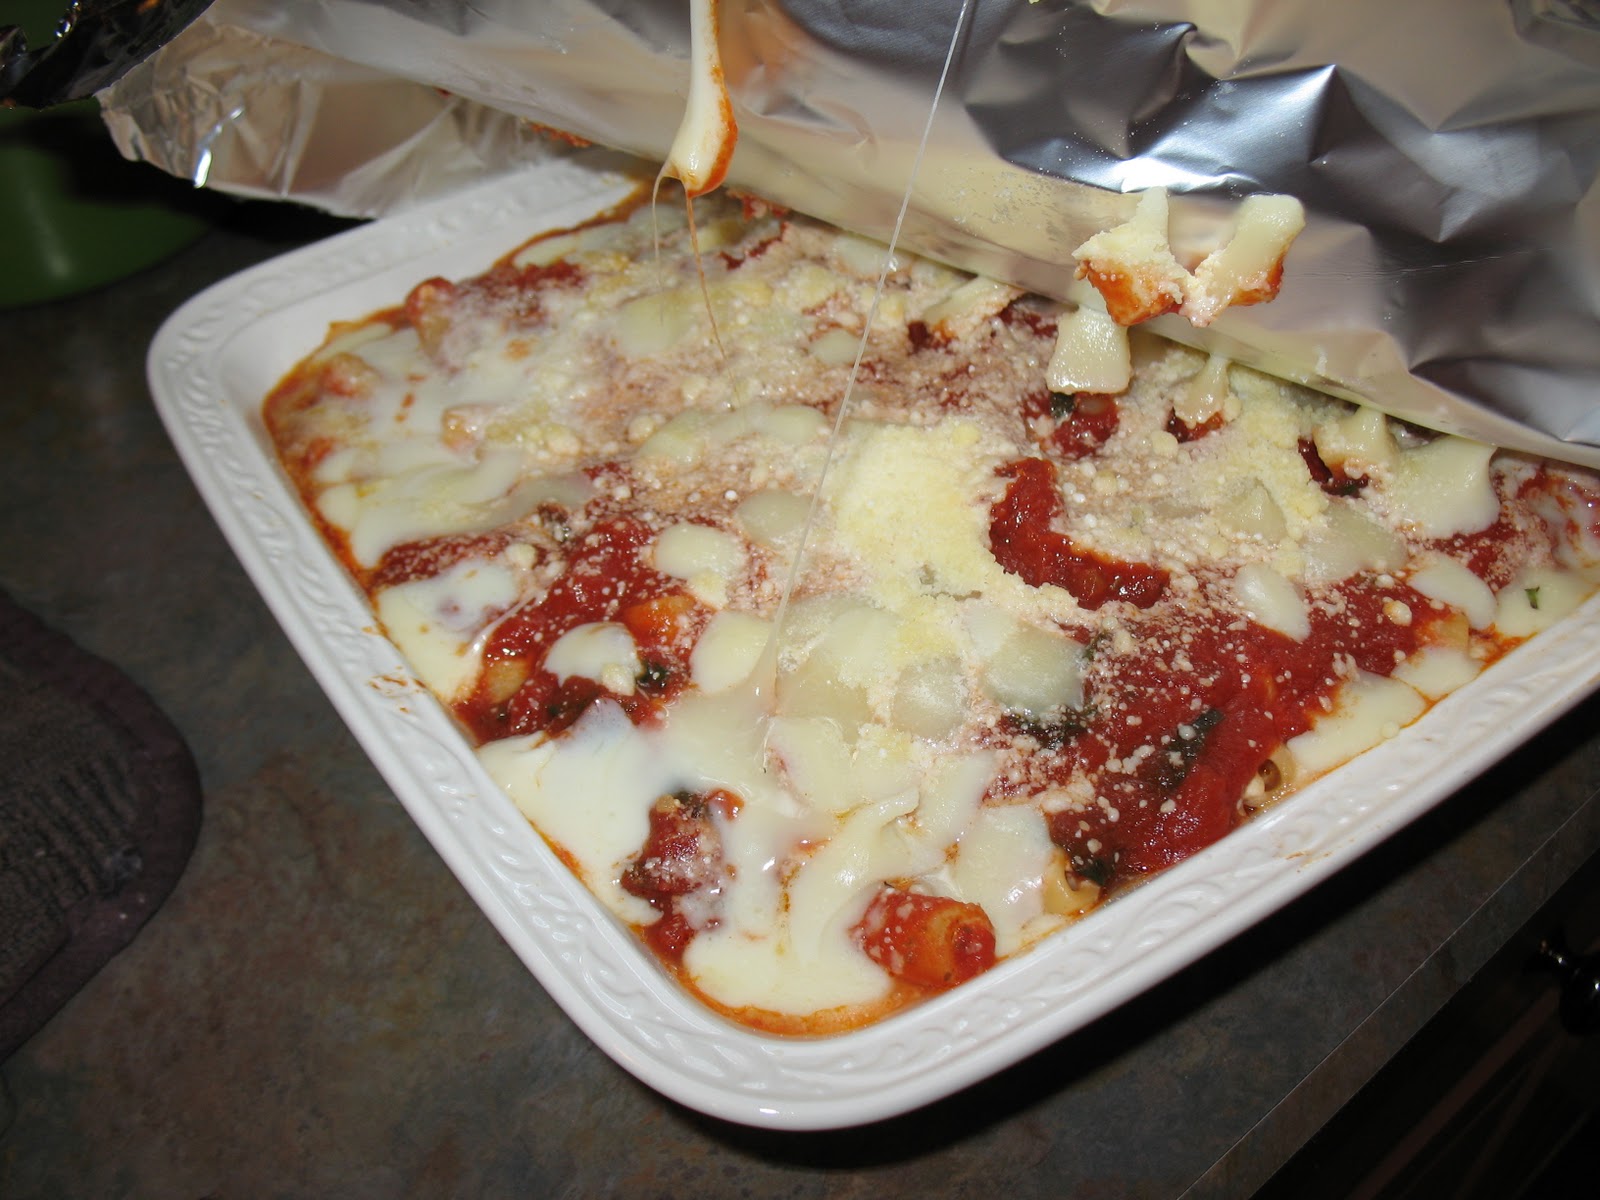
and remaining 1/2 cup Parmesan over top. Cover baking dish tightly with foil and bake for 30 minutes.
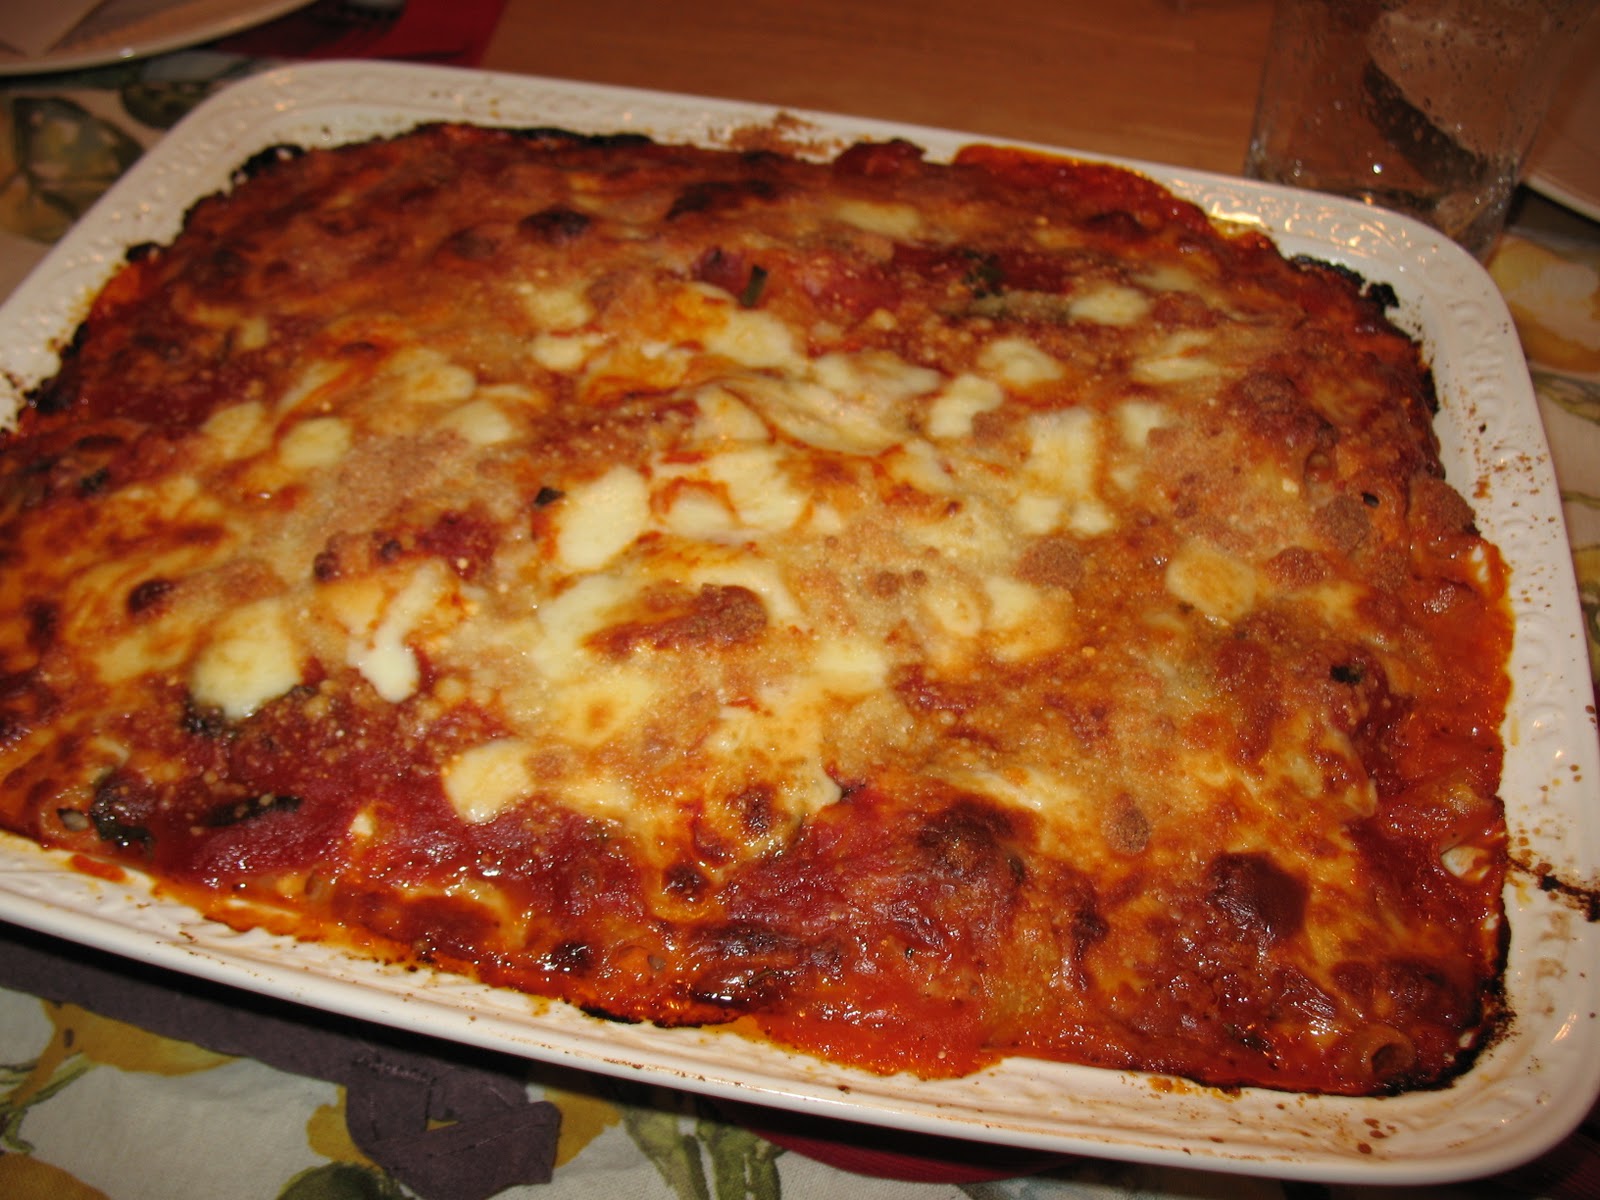
Remove foil and continue to cook until cheese is bubbling and beginning to brown, about 30 minutes longer. Cool for 20 minutes.
Cool for 20 minutes. Sprinkle with remaining 2 tablespoons basil and serve.
BAKED ZITI
Serves 8 to 10. Published March 1, 2009. From Cook's Illustrated.
WHY THIS RECIPE WORKS:
To get a baked ziti recipe with perfectly al dente pasta, a rich and flavorful sauce, and melted cheese in every bite, we parted from convention in several ways. First, we substituted cottage cheese for ricotta because the larger cheese curds baked up pillowy instead of grainy, the way ricotta did. For al dente pasta in our ziti recipe, we cooked the pasta only halfway, then added extra sauce to the dish so the pasta could absorb more liquid without drying out the finished dish. Finally, we cut the mozzarella into small cubes rather than shredding it, so it melted into distinct but delectable little pockets of cheese rather than congealing into an unappetizing mass.
The test kitchen prefers baked ziti made with heavy cream, but whole milk can be substituted by increasing the amount of cornstarch to 2 teaspoons and increasing the cooking time in step 3 by 1 to 2 minutes. Our preferred brand of mozzarella is Dragone Whole Milk Mozzarella. Part-skim mozzarella can also be used, but avoid preshredded cheese, as it does not melt well. For tips on cooking with cottage cheese, see related How To Cook.
1. Adjust oven rack to middle position and heat oven to 350 degrees. Whisk cottage cheese, eggs, and 1 cup Parmesan together in medium bowl; set aside. Bring 4 quarts of water to boil in large Dutch oven over high heat. Stir in 1 tablespoon salt and pasta; cook, stirring occasionally, until pasta begins to soften but is not yet cooked through, 5 to 7 minutes. Drain pasta and leave in colander (do not wash Dutch oven).
2. Meanwhile, heat oil and garlic in 12-inch skillet over medium heat until garlic is fragrant but not brown, about 2 minutes. Stir in tomato sauce, diced tomatoes, and oregano; simmer until thickened, about 10 minutes. Off heat, stir in ½ cup basil and sugar, then season with salt and pepper.
3. Stir cornstarch into heavy cream in small bowl; transfer mixture to now-empty Dutch oven set over medium heat. Bring to simmer and cook until thickened, 3 to 4 minutes. Remove pot from heat and add cottage cheese mixture, 1 cup tomato sauce, and ¾ cup mozzarella, then stir to combine. Add pasta and stir to coat thoroughly with sauce.
4. Transfer pasta mixture to 13- by 9-inch baking dish and spread remaining tomato sauce evenly over pasta. Sprinkle remaining ¾ cup mozzarella and remaining 1/2 cup Parmesan over top. Cover baking dish tightly with foil and bake for 30 minutes.
5. Remove foil and continue to cook until cheese is bubbling and beginning to brown, about 30 minutes longer. Cool for 20 minutes. Sprinkle with remaining 2 tablespoons basil and serve.